New theme
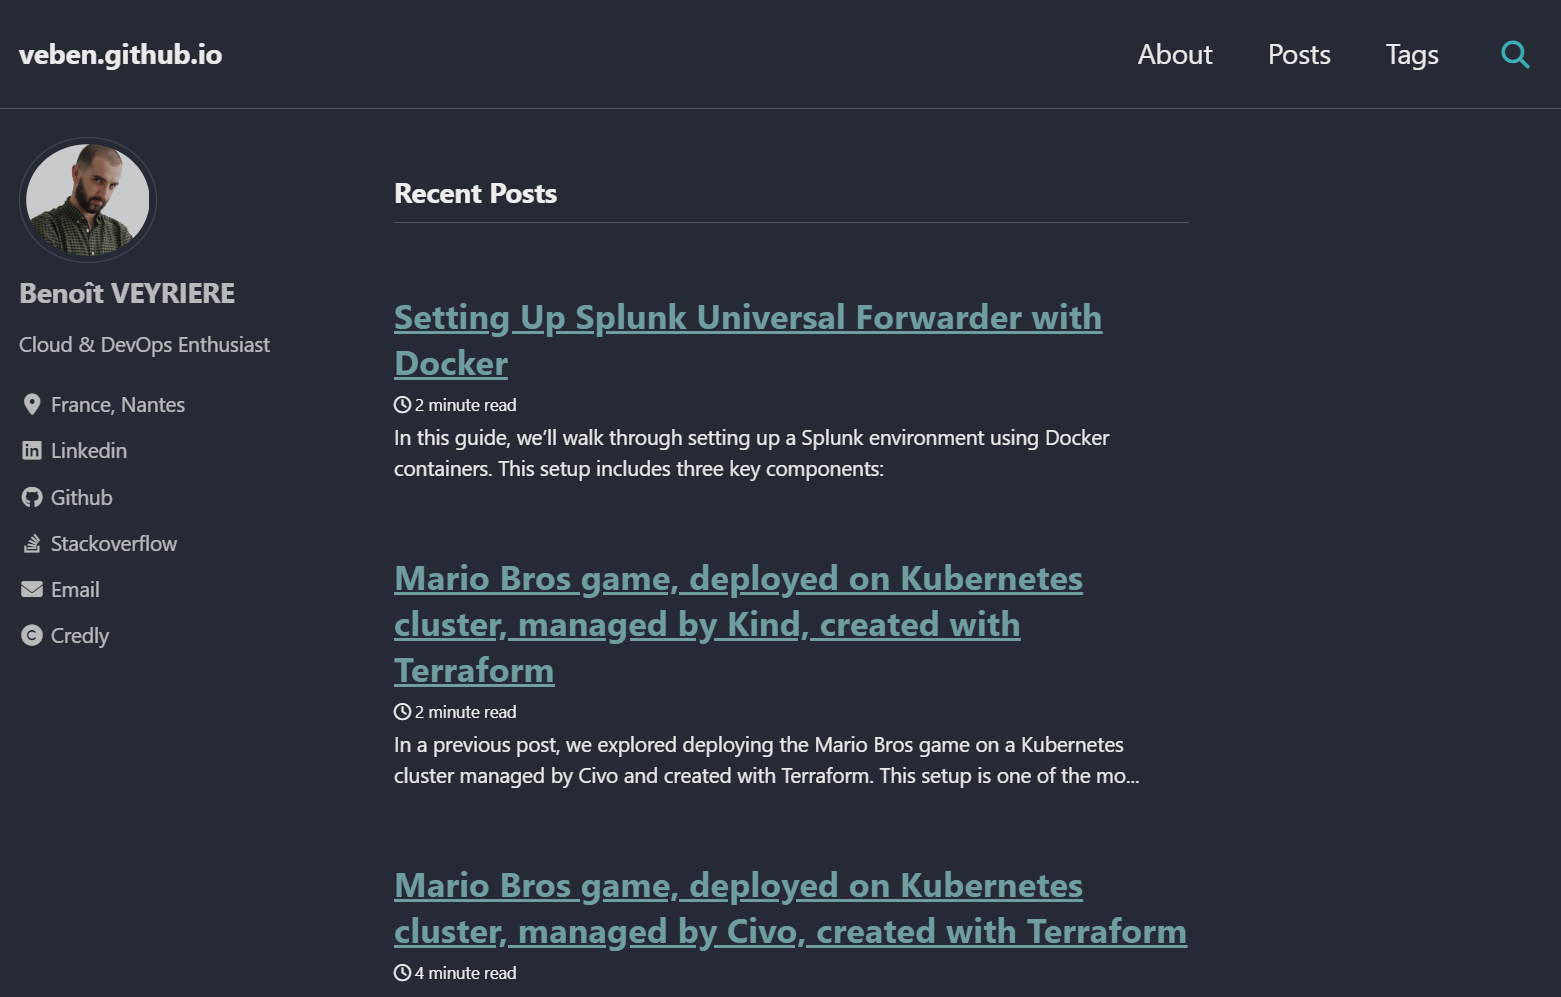
I’m excited to announce that I’ve just updated this blog with a brand-new theme for a cleaner and more modern look. Take a look at the transformation!
The Old Theme:

The New Look:

If you want to install a similar theme for your own blog, follow these simple steps:
Getting Started
You can easily create your own blog by cloning the Starter repository and customizing it to fit your needs.
Customization
Most of the configurations are managed in the _config.yml file. For instance, you can change the theme’s skin by adjusting the appropriate settings within this file.
To add a new post, simply create a Markdown file in the _posts directory following this naming convention: YYYY-MM-DD-name-of-post.md.
Local Developement
Before publishing your blog, you might want to test it locally. Follow these steps to configure local environment:
- Clone the repository
git clone https://github.com/<your-github-username>/<your-github-username>.github.io.git - Install required components. See here
- Install required gems, listed in
Gemfilebundle install - Serve the site and watch for changes
bundle exec jekyll serve - Open your browser and navigate to http://127.0.0.1:4000/ to view your site locally
Hosting on GitHub Pages
To host your blog on GitHub Pages, name your repository in this format: <your-github-username>.github.io. Each time you push changes to the main branch, your blog will be published automatically and accessible at https://<your-github-username>.github.io.
Credits
- Generated with: Ruby and Jekyll.
- Hosted on: Github pages
- Theme: Based on the Minimal Mistakes theme
